Creating Crop and Bleed Marks in Photoshop

When handling document for client, you often are the liaison between them and their printer. Whether or not you’ve created the art, you often have to pick up the pieces and make necessary edits to allow the printing process to be a success. In this blog we cover creating crop and bleed marks in photoshop.
How to Create Crop and Bleed Marks
First, set your canvas size to the appropriate document size. Here, we have an 8×10 photo. Set your guides along all four edges of the document. Next, to create the cropping area, we’re going to increase the size of the canvas. Most printers require a .25” bleed, so increase your canvas size by .5 inches on both dimensions, keeping the anchor point in the center.

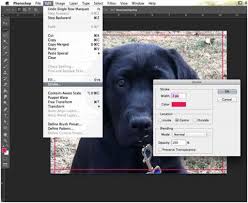
Now, create a new layer. Using your Single Column Marquee tool, run your cursor over the one of the vertical guides and click. This will highlight a single column over the whole document. With the selection made, go Edit>Stroke.

Typically, it’s best practice using a black crop mark, but in this case, I’ve used red for crop marks photoshop. In any case, choose your stroke size and color. Then click ok. Repeat this process for every guideline, switching to Single Row Marquee to do the horizontal marks.
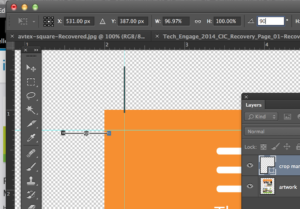
When you have all your strokes made, use the rectangle marquee tool to make a rectangle just outside the marks you’ve just made, highlighting part of the bleed area as well. By hitting delete, you can erase all the content within the selection. (This is why it’s important to create the marks on a new layer.)

If you’ve done it correctly, you should end up with something like this.

Remember, using bleeds is a very important first step. This allows some wiggle room for you if the crops are not made exact. Digital Firefly Marketing offers expert design services.
