How to Create Subgroups in MailChimp
If you use MailChimp you already know how powerful of a tool it is. MailChimp is an email marketing campaign tool used to reach current clients, prospective clients, and even create internal announcements. It is a way to keep track of subscribers to newsletters, public relations, and more. When you create subgroups in MailChimp you are able to get pinpointed messages to a specific audience.
Let’s Create Subgroups in MailChimp
Today we will learn how to create a subgroup within an email list you’ve already made. In certain situations you may not want to send something out to everyone in a given list. When you create a subgroup you identify specific persons to send certain content to increasing efficiency and organization.
Steps
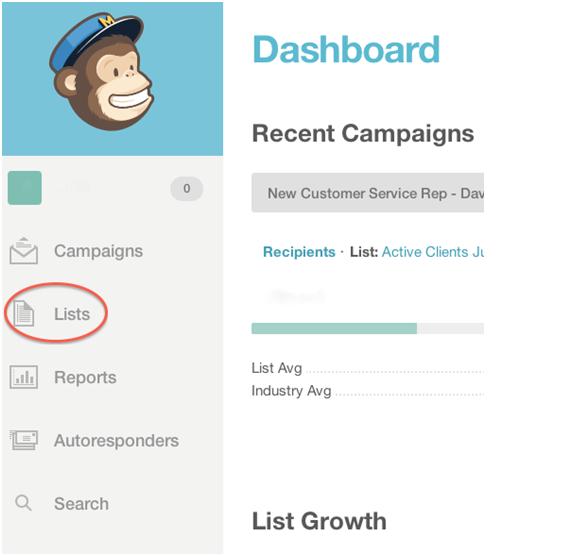
1. From the dashboard click ‘lists’. Located on the left hand side of the page.
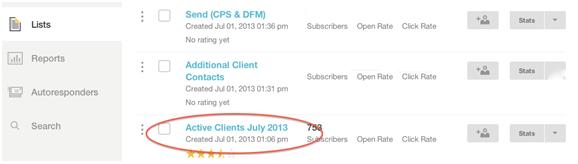
2. From the lists tab click on the list to which you wish to add the subgroup. We used “active clients july 2013”.
3. Inside the list, click the “manage subscribers” drop down menu located at the top of the page.
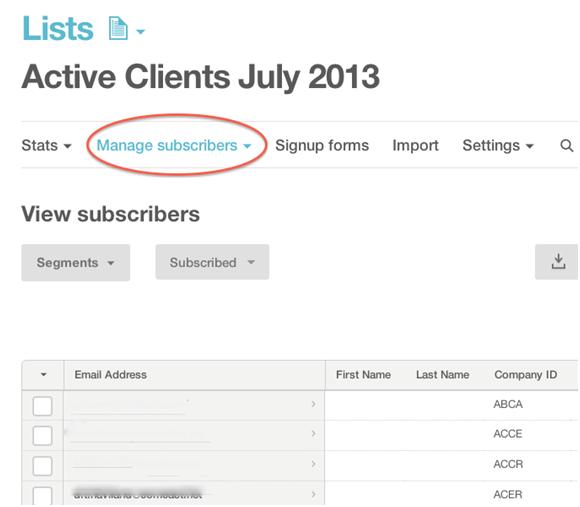
4. Within this drop down list select “groups”

5. Once inside the ‘groups’ page you will click ‘view groups’ located on the right side of your screen.
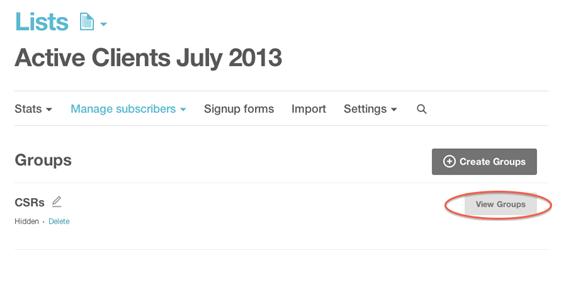
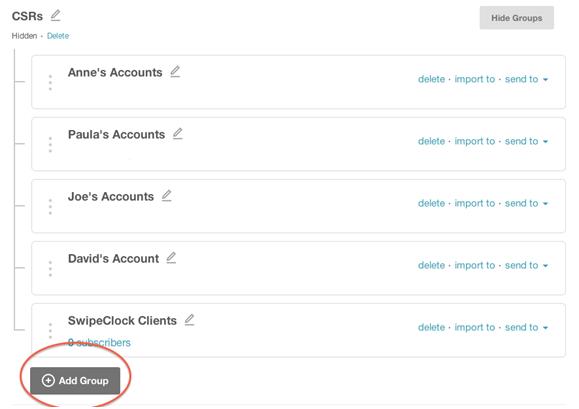
6. Finally, at the bottom of the page you will see ‘add group’. From here just follow the prompts and import an email list within.
It’s easy to create subgroups in MailChimp giving you the power to tailor communications and target clients as part of your email marketing plan.