The process of creating a logo is time consuming and a rather daunting task in and of itself. Recently we just went through this process with a site called Tales from Mass Transit where the owner wanted to convey a sense of whimsy as the site is dedicated to seeing strange sites on buses, trains and airplanes.
So, not only are you creating the “face” of the company, but you are also attempting to encapsulate what the company stands for, what it does for its customers, as well as the where it plans to go in the future. But following a simple outline can make the task seem a little more manageable and inevitably, end your day with a satisfied client.
Do your homework
Before entering a brainstorming session with your client, make sure you’ve done some background research. Know the elements of their current design, understand their place in the industry, and understand WHAT THEY DO. This will help you understand the general context for your design.
Talk it out, and LISTEN
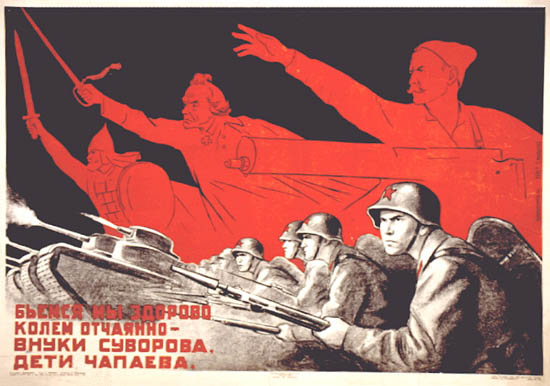
Your brainstorming session should be organized and professional. It will run smoothly if you prepare BEFORE the brainstorming session. Do this by writing a set of questions to ask the client in order to understand what they are looking for. You should also ask what logos inspire them and what they like. For example these two logos were choices from Tales from Mass Transit for how they wanted their logo to look.
Preliminary Sketching
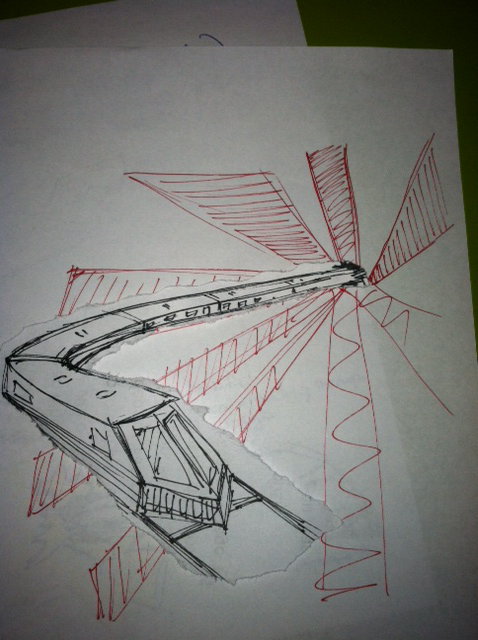
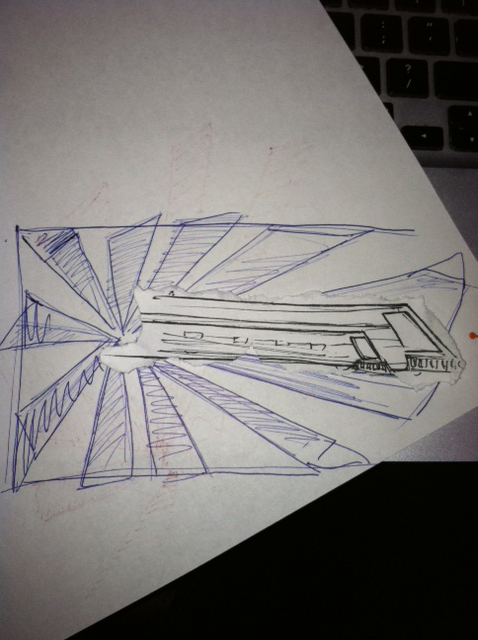
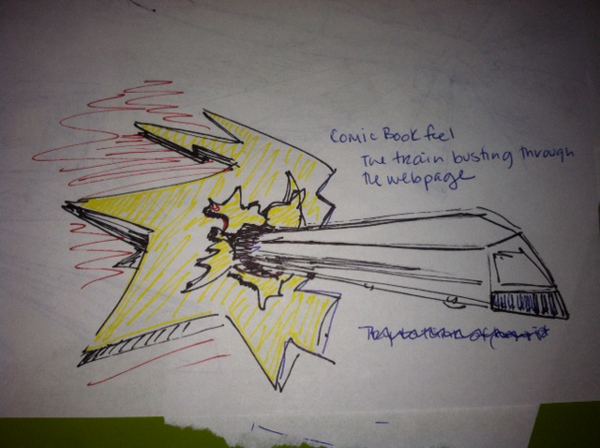
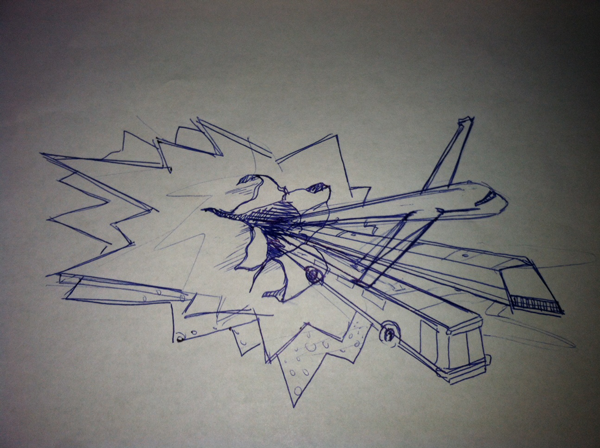
Put your pen to the paper! Sketch until you feel you have 4-6 options for your client. Make sure you can explain your thoughts for each—namely what individual design elements are being highlighted and how they benefit the design, as well as how the designs are differentiated from each other. Using the logos above we started to vet out a number of preliminary ideas around the concept of mass transit.
Avoid putting anything into the computer at this point. It is much more time consuming than rough sketching. Feel free to provide digital examples to explain the “look and feel” you will be achieving with each design style example, as its often difficult to mimic that detail in the sketching stages
Digital Edits
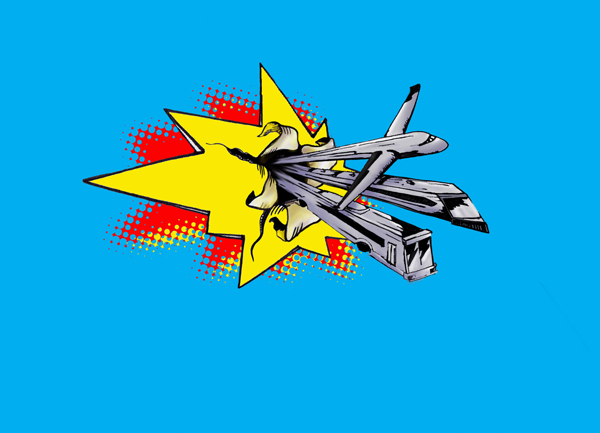
After you and your client have been through the critiquing process of the sketches, hopefully you have narrowed it down to one or two options. Now you should digitally refine them in the program of your choice. If you are using typography within your logo, consider choosing a font early in this process. Or, even give your client a few options for font. The overall goal of this stage is to refine your sketches to a “more final” look, still making sure the client is aware it is still editable. For example, once the client was satisfied with our sketches, we digitized the sketches and started to refine them.
Refining Process
This step might take a few tries, but this stage is simply making the little changes your client isn’t happy with. At this point—because you’ve followed the process and because your client is directly involved throughout—there shouldn’t be a need for any redesigning. They should all be very small changes (ie: color edits, kerning, etc)
Wrap it up with a Bow
Congratulations! You’ve just created the baseline of a client’s branding strategy. Now make sure you take pride in your work. Provide a portfolio-style presentation explaining how your logo represents the company as well as design specs: hex numbers, black/white options, etc. You might consider showing examples or providing suggestions of how you would incorporate this logo across other company collateral like business cards, envelopes, or even a mock-up webpage. This creates a professional relationship with your client and plants seeds for future projects.
